http://homebarista.sk/wp-content/uploads/2017/07/HB_LOCw-300x300.png
0
0
Peter Doboš
http://homebarista.sk/wp-content/uploads/2017/07/HB_LOCw-300x300.png
Peter Doboš2023-05-03 08:32:202023-08-10 09:51:25homebarista.cz video s váma děkujeme za návštevu
http://homebarista.sk/wp-content/uploads/2017/07/HB_LOCw-300x300.png
0
0
Peter Doboš
http://homebarista.sk/wp-content/uploads/2017/07/HB_LOCw-300x300.png
Peter Doboš2023-04-25 10:28:292023-04-25 10:32:25What is difference between pressure profiling and flow profiling
http://homebarista.sk/wp-content/uploads/2017/07/HB_LOCw-300x300.png
0
0
Peter Doboš
http://homebarista.sk/wp-content/uploads/2017/07/HB_LOCw-300x300.png
Peter Doboš2023-04-18 19:19:392023-04-19 10:29:55Mara X video tutorial by Lance Hedrick
http://homebarista.sk/wp-content/uploads/2017/07/HB_LOCw-300x300.png
0
0
Peter Doboš
http://homebarista.sk/wp-content/uploads/2017/07/HB_LOCw-300x300.png
Peter Doboš2023-04-18 14:17:482023-04-18 19:17:45Lelit Bianca pl162t v3 Lance VIDEO tutorial: low flow and offset explained
https://espressodoma.cz/wp-content/uploads/2023/04/micra-marzocco-bratislava-sk-cena-2023-praha-prague-eur.jpg
1037
1556
Peter Doboš
http://homebarista.sk/wp-content/uploads/2017/07/HB_LOCw-300x300.png
Peter Doboš2023-04-04 15:29:302023-05-12 20:14:35MICRA La Marzocco sen každého home baristy
https://espressodoma.cz/wp-content/uploads/2018/11/dalla-corte-mina-flat-white.jpg
1632
920
Peter Doboš
http://homebarista.sk/wp-content/uploads/2017/07/HB_LOCw-300x300.png
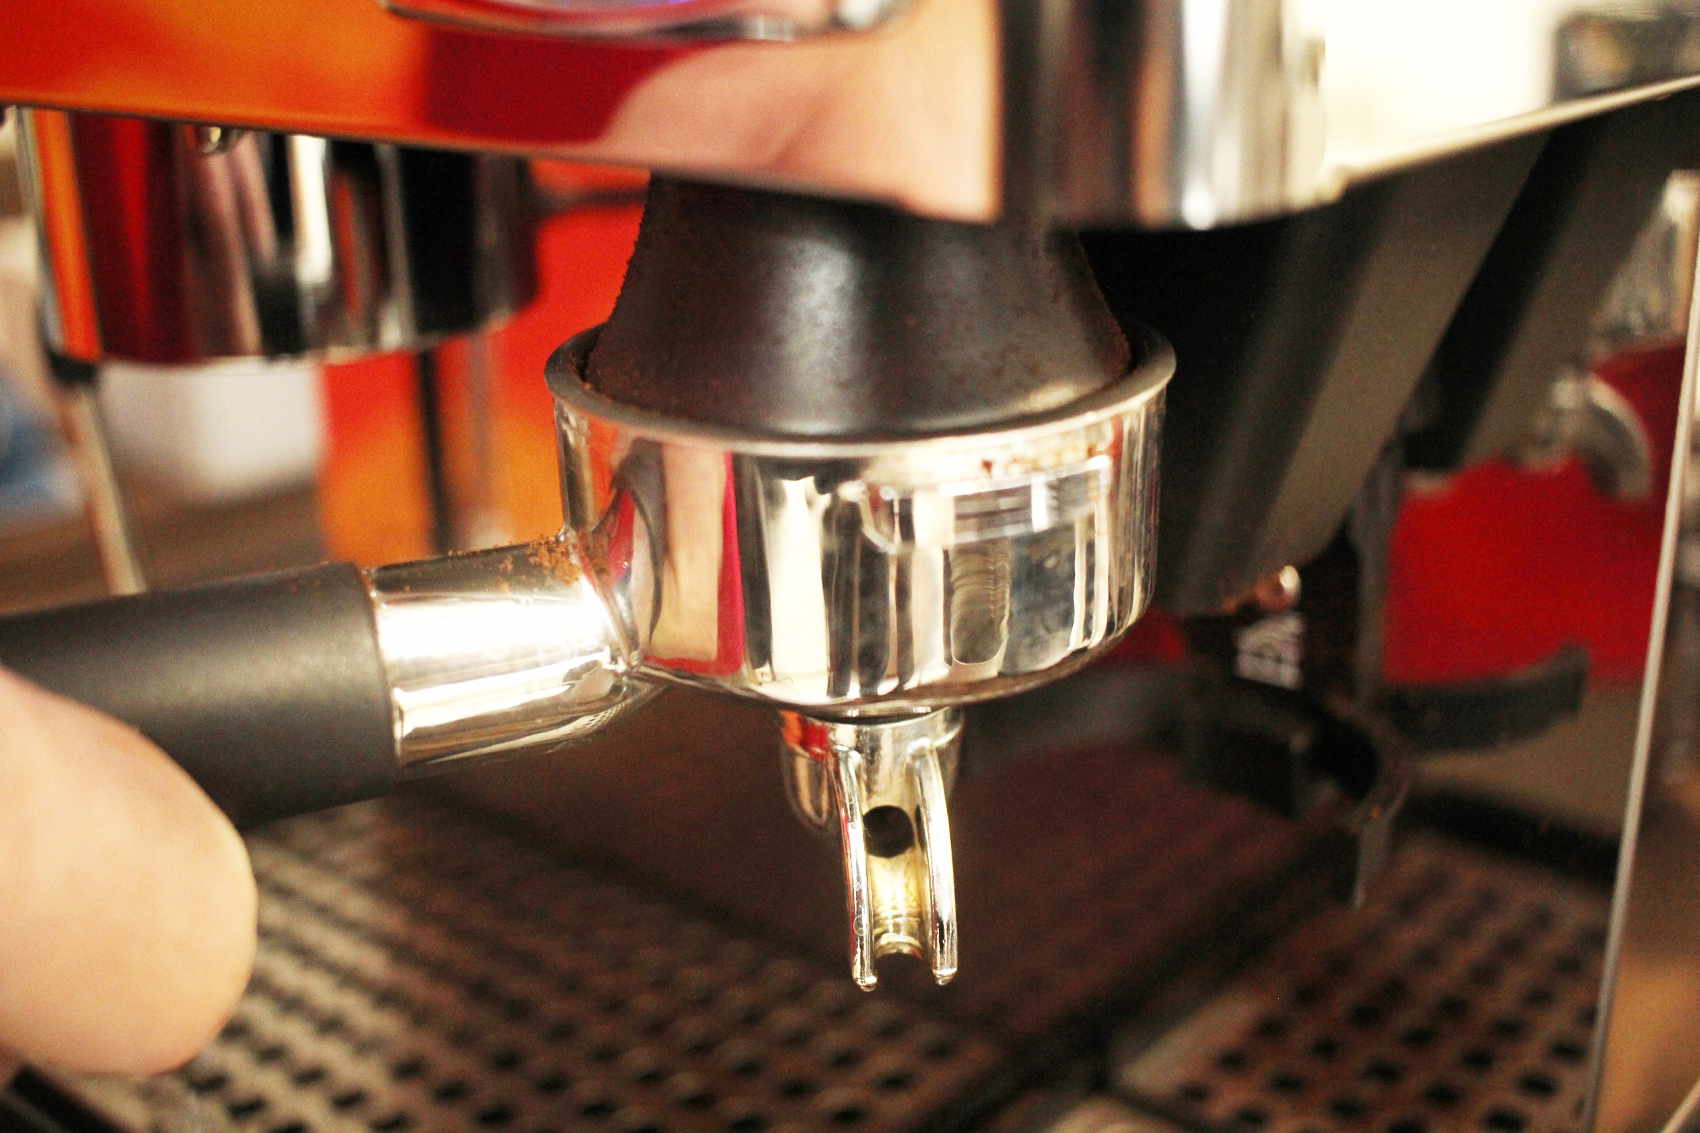
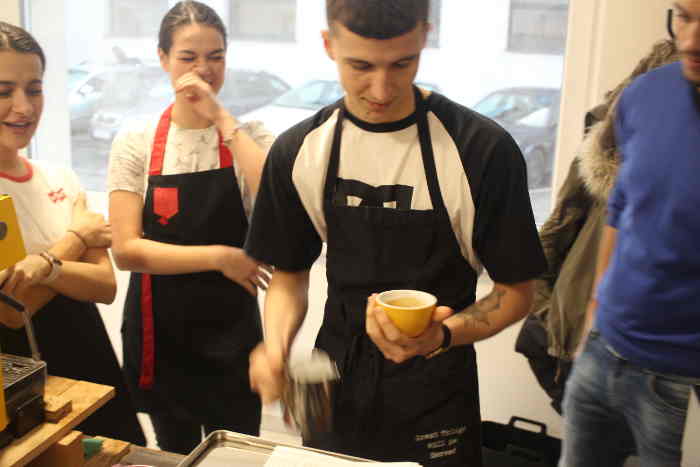
Peter Doboš2023-03-31 09:23:102023-03-31 10:06:44Home barista workflow aneb módní přehlídka skillů
https://espressodoma.cz/wp-content/uploads/2023/03/profitec-go-black-bratislava-praha-cena-prague-price.jpg
800
800
Peter Doboš
http://homebarista.sk/wp-content/uploads/2017/07/HB_LOCw-300x300.png
Peter Doboš2023-03-31 08:09:552023-08-10 09:56:08Profitec GO perfektní espresso a latte art doma
https://espressodoma.cz/wp-content/uploads/2019/06/najlepsie-kurzy-v-bratislave-pre-firmy-teambuilding.jpg
467
700
Peter Doboš
http://homebarista.sk/wp-content/uploads/2017/07/HB_LOCw-300x300.png
Peter Doboš2023-03-30 13:05:202023-03-30 14:29:33Anita PL042TEMD s PIDem a vestavěným zabudovaným mlýnkem na kávu
https://espressodoma.cz/wp-content/uploads/2023/03/marax-mara-x-v2-cena-bratislava-praha-prague.jpg
800
800
Peter Doboš
http://homebarista.sk/wp-content/uploads/2017/07/HB_LOCw-300x300.png
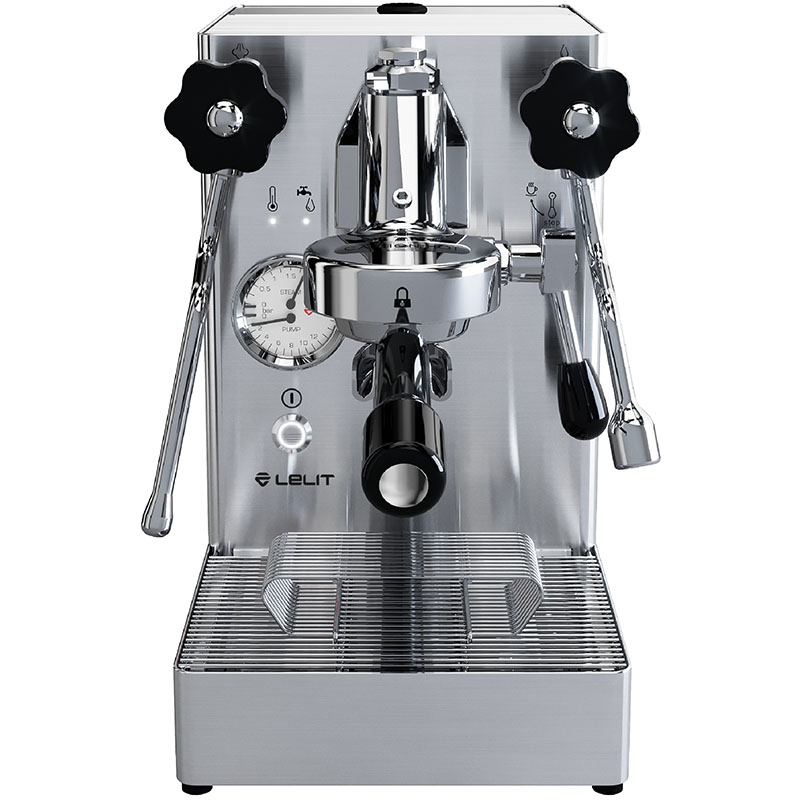
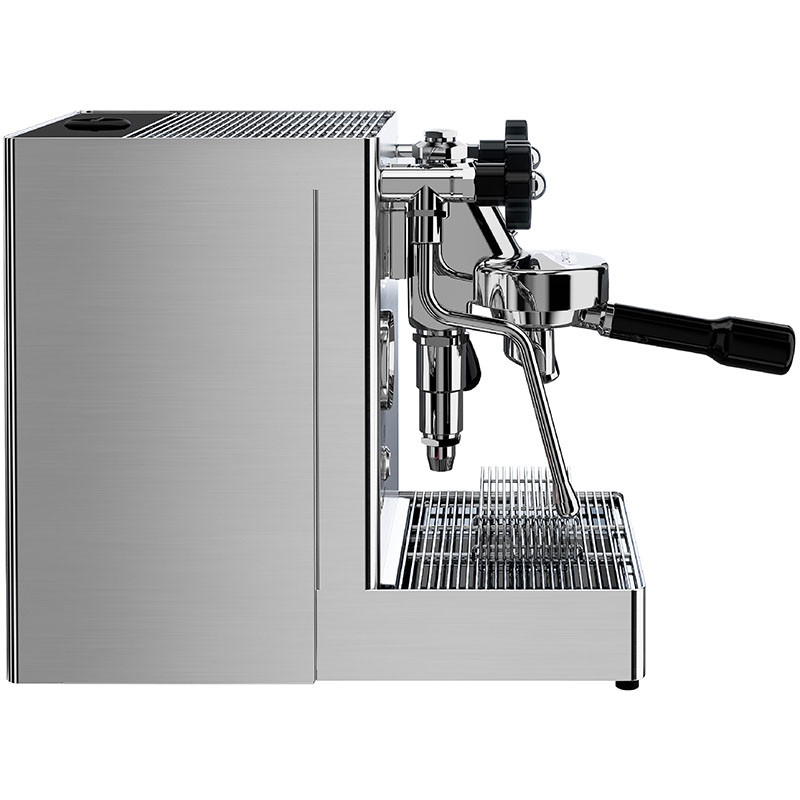
Peter Doboš2023-03-30 11:59:312023-03-30 13:03:31Lelit Mara X PL62X V2 nejnovější verze V I D E A
http://homebarista.sk/wp-content/uploads/2017/07/HB_LOCw-300x300.png
0
0
Peter Doboš
http://homebarista.sk/wp-content/uploads/2017/07/HB_LOCw-300x300.png
Peter Doboš2023-03-29 08:58:222023-03-29 11:20:08Jak se starat o Biancu V3 a jak pravidelne čistit Biancu V3?